
How to Get Your Home Ready for the Flooring Crew: A Room-by-Room Checklist
Getting your home ready for a flooring crew comes down to three things: empty the rooms, protect everything that isn’t being replaced, and let the new material settle flat and dry before install day. Do those in the right order and the job starts on time. Skip them and the crew spends the first hour moving furniture instead of laying floor. A flooring crew that arrives to find furniture unmoved and baseboards still painted in doesn’t start working – they start waiting, and in many contracts, that wait comes out of your installation time, not theirs.
We’re the team at Floors Las Vegas, and we’ve walked into enough Las Vegas homes to know which prep steps actually matter and which ones homeowners are never told about. Here’s the checklist we wish every customer had before we show up.
What does “furniture removal” actually mean, room by room?
Furniture removal means every movable item leaves the room before the crew arrives, and each room type has a different definition of “removed.” A bedroom is mostly about clothing and drawer contents; a kitchen is about appliances and plumbing; a living room is about electronics and their cables. Treating them the same way is where prep falls apart.
Bedrooms
Empty the dressers and nightstands, not just the closet. A fully loaded dresser is heavy, awkward, and exactly the kind of thing that gets scratched when it’s dragged. Pull everything off the bed frames and out from under them. Bedroom closets are the number one overlooked spot – clear the floor of shoes, bins, and the stuff that lives back there, because installers need that floor too. If you have a carpet installation booked for multiple bedrooms in a Las Vegas home, plan to have personal items boxed and stacked in a hallway, not shoved to the corner of the room.
Living rooms and entertainment centers
Unplug the TV, soundbar, and anything else on the media console, and label the cables with tape before you disconnect them. Installers move furniture; they don’t rewire your entertainment system. Take the TV off the wall or off the stand and set it somewhere safe in another room. Bookshelves get emptied completely – a shelf half full of books is a tipping hazard the moment it’s shifted.
Kitchens
This is the room that surprises people. If you’re replacing kitchen tile, the refrigerator, stove, and dishwasher usually need to come out or be moved, and the fridge needs to be emptied first. Clear the lower cabinets that sit under the work zone. Anything plumbed in place – the dishwasher especially – should be disconnected ahead of time or flagged clearly so the crew knows it’s still connected. Ask at your estimate visit exactly which appliances need to move for your specific floor; it varies with the layout.
The 48-hour acclimation rule: where do the new materials go?
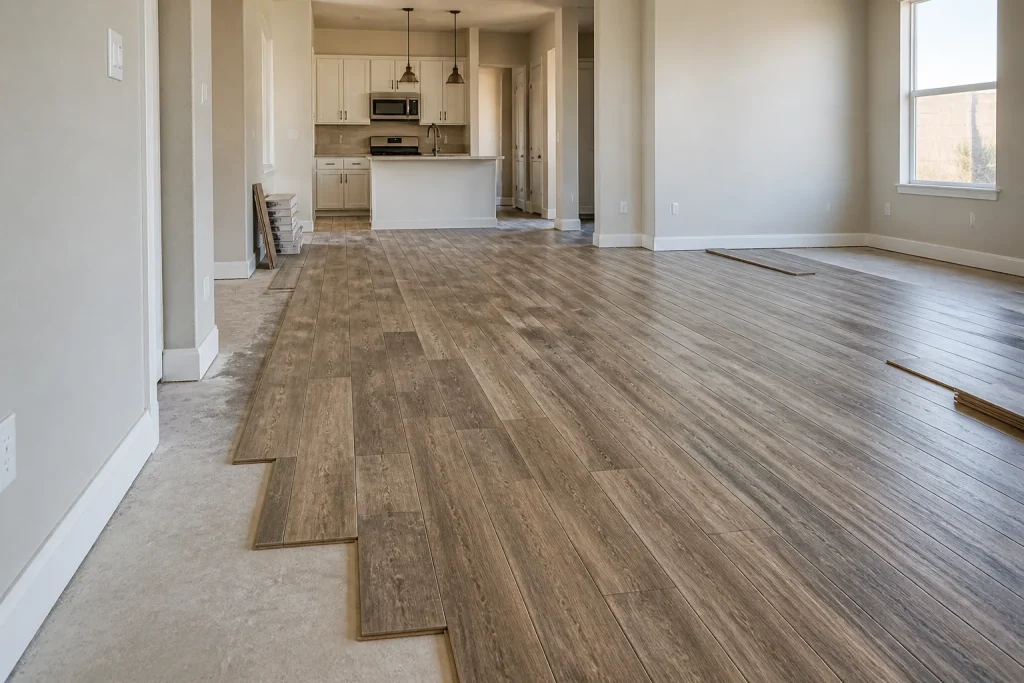
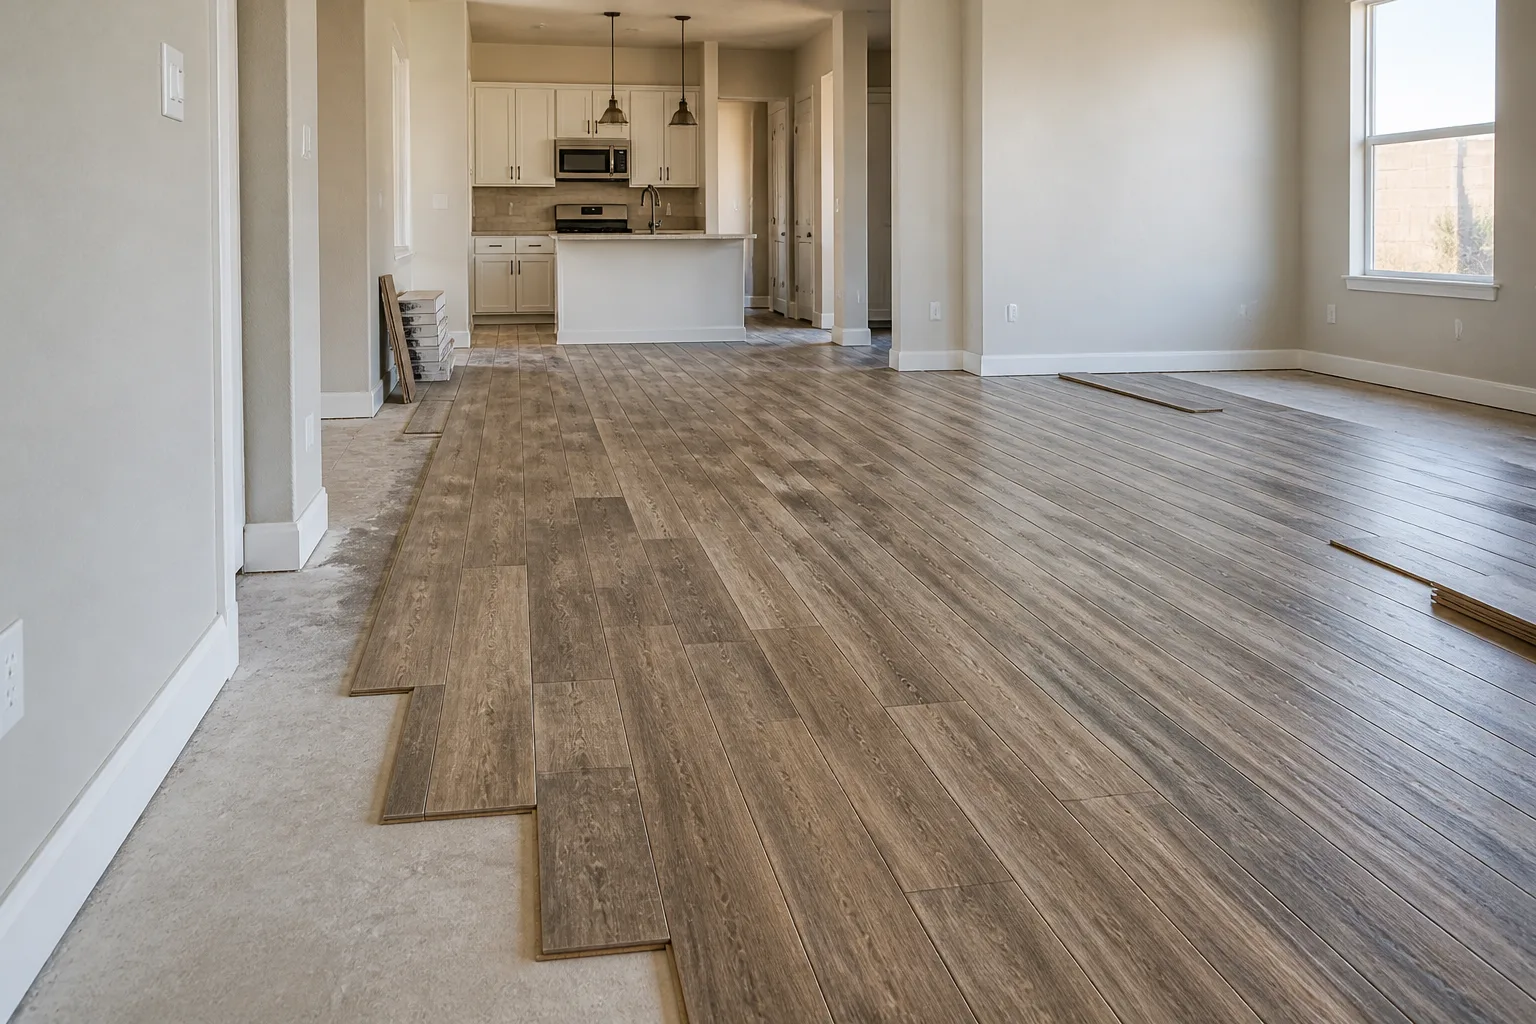
Acclimate your flooring for about 48 hours before install, laid flat in a climate-controlled room at normal living temperature, not stacked on edge and never in a hot garage. Materials expand and contract with heat and humidity, and if they’re installed before settling to your home’s conditions, gaps and buckled seams follow. This one step protects the whole investment.
Las Vegas makes this trickier than most places. A summer garage easily climbs well past 100 degrees, and a stack of carpet installation goods or plank flooring parked out there for two days is the wrong answer. Store the boxes in the room where they’ll be installed, or the closest conditioned space, and follow these habits:
- Lay boxes flat and single-file, not stacked in a tall tower that traps heat and weight.
- Keep the room at normal living temperature – don’t crank the AC off to save energy during this window.
- Leave the boxes sealed until the crew opens them, and keep them off concrete slabs, which pull moisture.
- For tile, keep the cartons dry and flat; for plank and sheet goods from brands like Mannington or Armstrong, follow the storage note printed on the carton.
If your estimate calls for Daltile tile, the boxes are dense and heavy – stage them close to the work area but out of the traffic path.
Baseboards and door clearance: what to remove, what to leave?
Homeowners should remove furniture, wall decor, and closet contents; baseboards and door trimming are installer territory, but there’s prep you can do to make that trimming go smoothly. Ask at your estimate whether your job calls for baseboards removed and reinstalled or undercut at the door jambs – the two approaches leave different finished results, and the right one depends on the floor and the room.
What you can do in advance:
- Clear the walls of pictures, mirrors, shelves, and anything hanging within a couple feet of the floor.
- Take down curtains and blinds if they hang low, so they don’t catch dust or get snagged.
- Empty the baseboard-adjacent furniture and pull it well clear.
- Note any door that already sticks or drags – a thicker new floor changes the clearance, and the installer needs to know before they set the first row.
What should wait for the installer: pulling baseboard, trimming door bottoms, and cutting thresholds. Taking a saw to a door jamb yourself risks uneven clearance and a door that won’t close. Leave it. A good crew handles door undercutting as part of the job, and they’ll measure before they cut.
How do you protect the rest of the house during a multi-room install?
Protecting the rest of the house means sealing off the work zone, covering the traffic path, and protecting finished surfaces and stairs before demolition begins. Dust and debris travel farther than people expect, especially during tear-out, and a little prep keeps the mess contained to the rooms being worked on.
What we ask homeowners to do before a multi-room project in a Las Vegas home:
- Cover the path. Lay drop cloths or heavy plastic from the front door through the hallways and stairs the crew will use. Stairs especially – a dusty, uncovered staircase is a slip risk.
- Seal the doorway. Tape plastic sheeting over the doorways of rooms being worked on to keep dust from drifting into bedrooms and kitchens.
- Move fragile items out of the way. Vases, lamps, and small decor should be packed away or moved to a closed-off room, not left on a console in the path.
- Protect finished floors in adjoining rooms – if the hallway is staying put, a runner or plastic sheet saves it from scuffs and adhesive drips.
- Plan for ventilation. Adhesives and finishes give off fumes. Open windows where you can and keep the space ventilated, and keep pets and kids out of the work zone.
This is the part of prep that separates a smooth multi-room project from a stressful one. Do it well and you’ll barely notice the crew is there, aside from the noise and the occasional muffled thud.
Which overlooked spots trip up homeowners most?
Closet floors, the space under beds, and built-in shelving are the three spots installers consistently find still full on job day. These are the spaces homeowners forget because they don’t see them in daily use. Clear them and the timeline holds.
Run through this short list the night before:
- Closets: empty the floor and lower shelves of shoes, bins, boxes, and bags.
- Under the bed: pull out storage bins, suitcases, and anything stashed underneath.
- Built-ins and bookcases: empty every shelf; don’t leave books or display items behind.
- Hallway and entry closets: clear coats, boots, and the utility shelf.
- Laundry rooms: move the hamper and clear under the washer and dryer if that floor is being replaced.
- Pets and kids: arrange for them to be out of the work zone on install day.
We’ve seen a single loaded closet floor stall a whole room’s progress. It’s the small stuff that adds up.
When should you call a pro instead of prepping yourself?
Call a pro for anything structural: subfloor repair, moisture problems under a slab, removing load-bearing cabinetry, or appliance disconnection you’re not comfortable doing. Prep is a homeowner job; subfloor condition and installation are not. If you pull back old flooring and find soft spots, water staining, or a wavy slab, stop and get it looked at before anyone lays new material over it.
That’s where a specialist helps. We handle tile flooring installation and carpet and hardwood refinishing across the Las Vegas area, and we supply and install brands like LifeProof, Armstrong, Mannington, and Daltile. Our technicians have up to 11 years of experience, and we’d rather answer a question at the estimate than discover a problem on install day. The written estimate sets the final price, and it’s free.
Related services in Las Vegas
If your prep uncovers something that needs a closer look, we can help with carpet, tile, and hardwood refinishing. Call (844) 761-9353 to line up a free estimate before install day.
The Bottom Line
Prep is the difference between a project that runs on the original timeline and one that stalls on day one. Empty every room completely, store new material flat in a conditioned space for about 48 hours, leave baseboards and door trimming to the installer, and seal off the rest of the house before demolition starts. Do those and the crew walks in ready to work, not ready to wait. If you’re in Las Vegas and need help, Floors Las Vegas offers free estimates – call (844) 761-9353. We answer 24/7. Fast dispatch from 7am to 7pm, Sunday through Friday.
Frequently Asked Questions
Yes – the crew needs the room empty before they start, so plan to move furniture out of every room being worked on. Moving it yourself keeps the job on schedule and protects your furniture and walls in the process. If you’re unsure what needs to move for your specific floor, ask at the free estimate and we’ll tell you exactly what to clear.
About 48 hours, laid flat in a climate-controlled room at normal living temperature. A garage in Las Vegas summer heat is the wrong place to store them – the temperature swing can throw off the material before it’s even installed. The product carton and your written estimate set the exact requirements for your flooring.
No – leave baseboard and door trimming to the installer. Pulling baseboard or cutting a door jamb yourself risks uneven clearance and a door that won’t close. What you can do is clear the walls, empty the rooms, and note any doors that already stick so the crew can plan for it.
Seal doorways with plastic sheeting, cover the traffic path and stairs, and ventilate the work area by opening windows where you can. Adhesives and finishes give off fumes, so keep pets and kids out of the work zone. A little prep on the front end keeps the mess contained to the rooms being floored.
Call (844) 761-9353 for an exact quote – estimates are free. We answer 24/7, with fast dispatch from 7am to 7pm, Sunday through Friday.
Written by the team at Floors Las Vegas.
Need Flooring Help?
Call Floors Las Vegas - licensed & insured, with free written estimates in Las Vegas.
(844) 761-9353