
Last updated November 17, 2026
 Hardwood
 Engineered hardwood
 Luxury vinyl plank
 Laminate
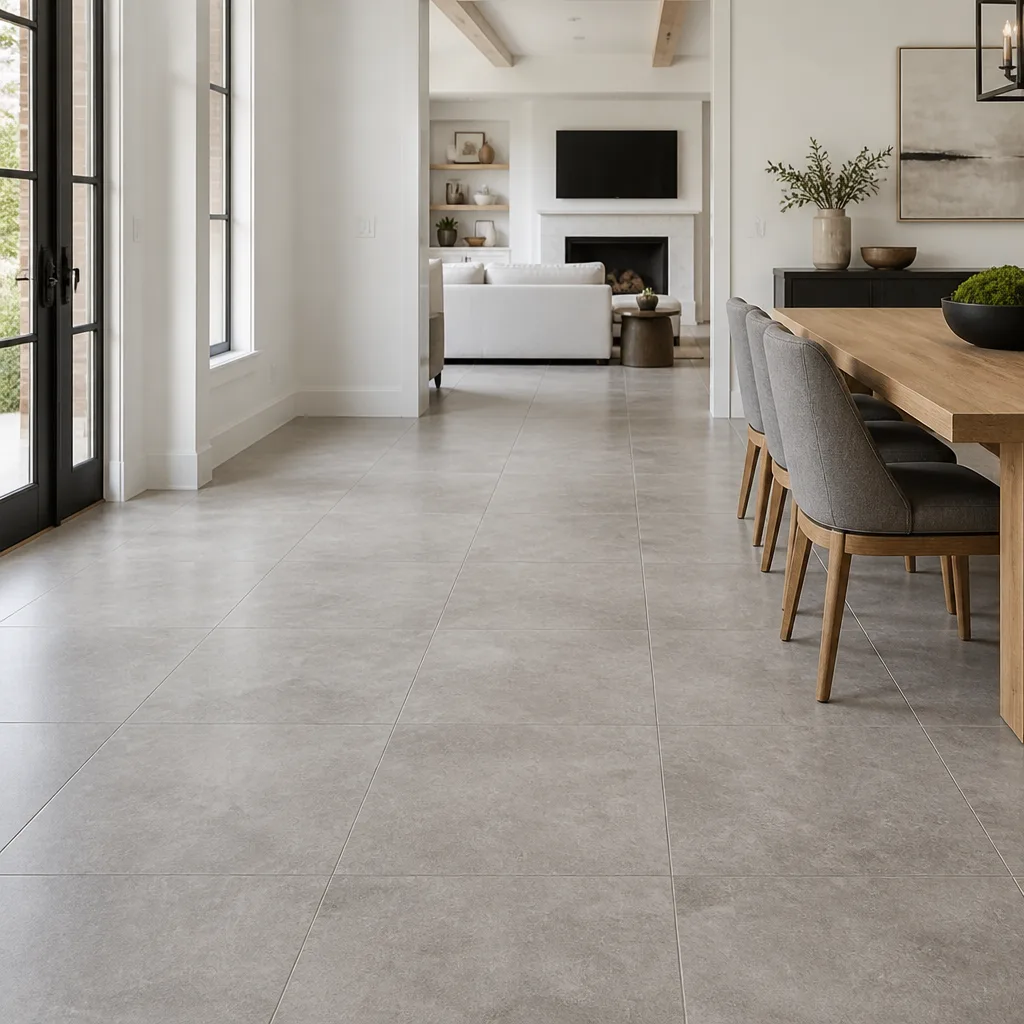 Porcelain tile
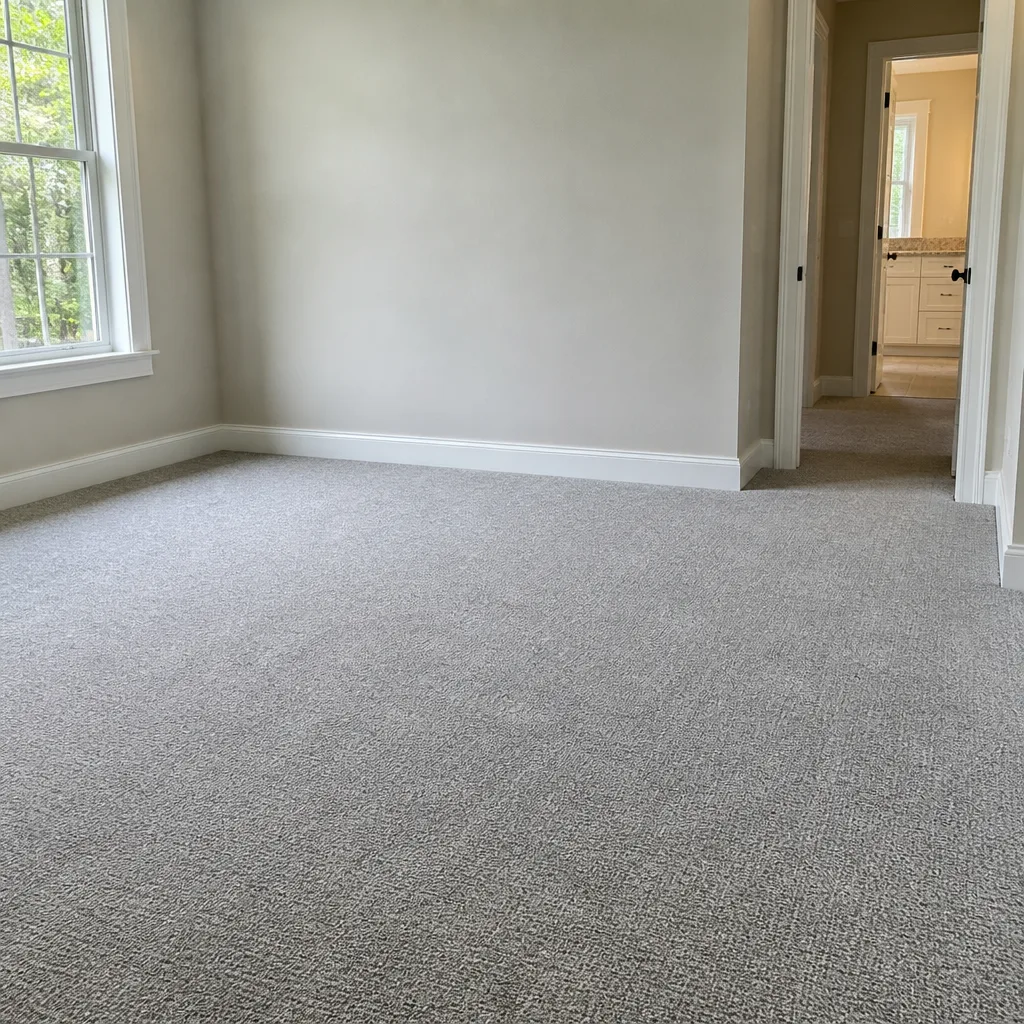 Carpet
 Shaw
 Mohawk
 COREtec
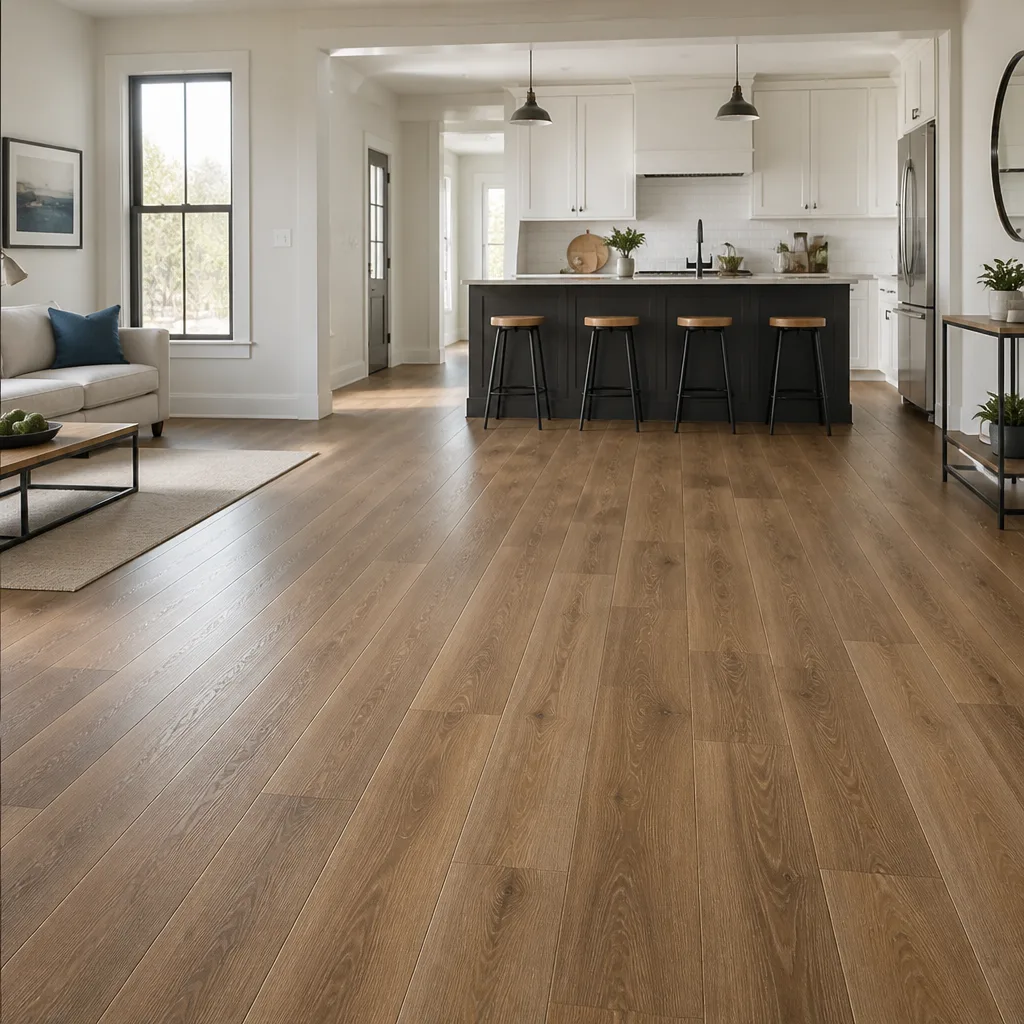 Pergo
Free in-home measure and written estimate: Shaw, Mohawk, COREtec and Pergo lines compared on your own rooms, with carpet, tile, vinyl plank, laminate and hardwood laid out side by side
Get your free estimateSubfloors Explained: What Sits Under Your New Floor
Concrete slabs look flat. They almost never are. The industry standard for flooring installation allows no more than 3/16 inch of variation over a 10-foot span, and an unlevel slab that looks perfectly fine to the naked eye can cause luxury vinyl plank to flex underfoot, tile to crack along grout joints, and hardwood to develop hollow spots within the first year. In Las Vegas, nearly every home sits on a concrete slab, which means the subfloor conversation here is really a slab conversation: moisture moving up through the concrete, high and low spots, and adhesive residue left behind by whatever floor came before. This guide covers what actually sits under your new floor, how to read the tests that matter, and why subfloor prep belongs on your estimate as its own line item.
Quick Answer
A subfloor is the structural surface beneath your finished floor. In most Las Vegas homes, that surface is a concrete slab, sometimes topped with a plywood or underlayment layer. Before any new floor goes down, the slab has to be checked for moisture, levelness, and leftover adhesive. Getting those three things right is what separates a floor that lasts from one that telegraphs every bump underneath. Our technicians have up to 11 years of experience reading exactly these conditions across the valley.
Styles & brands we work with
- Hardwood
- Engineered hardwood
- Luxury vinyl plank
- Laminate
- Porcelain tile
- Carpet
- Shaw
- Mohawk
- COREtec
- Pergo
Table of Contents
- What Is a Subfloor, and Why Does It Matter So Much?
- Why Las Vegas Subfloors Are Different: The Concrete Slab Reality
- How to Read a Moisture Vapor Emission Rate (MVER) Test
- When Vapor Barriers Are Mandatory vs. Optional
- Self-Leveling Compound: When You Need It and What It Costs
- Adhesive Residue and Old Flooring: Grinding vs. Encapsulation
- Subfloor Tolerances by Flooring Type
- Why Subfloor Remediation Deserves Its Own Line Item
What Is a Subfloor, and Why Does It Matter So Much?
The subfloor is the layer that carries everything above it. Under your visible floor there is usually three things stacked: the structural slab or joist system, the subfloor surface itself, and an underlayment or pad between the subfloor and the finished floor. Each one plays a role, and each one can fail in a way that shows up as a problem in the top layer.
Here’s what each layer does:
- The structural base holds the weight of the room and everything in it. In Las Vegas, that’s almost always a poured concrete slab on grade.
- The subfloor surface provides a flat, stable plane for installation. This is where levelness and moisture come into play.
- The underlayment is what sits directly under the floor: a pad under carpet, a membrane under tile, a moisture barrier under luxury vinyl, an underlayment panel under hardwood.
A finished floor can look flawless on install day and still fail months later if the subfloor underneath wasn’t addressed. Thick carpet hides a lot, but hard surfaces do not. Tile transfers every high and low spot straight through the thin-set and into the grout. Luxury vinyl reflects slab imperfections in the form of flexing and clicking. Hardwood, which is a rigid material, will bridge over a dip and create a hollow sound you notice every time you walk across it.
The most common misconception we run into: that “flat” and “level” are the same thing. They aren’t. A slab can be level (perfectly horizontal) and still be wavy. It can also be flat (no visible bumps) while sloping gently toward a drain or a low corner. For flooring purposes, flatness is what matters most, and flatness is what gets measured at the estimate visit.
If you’re comparing floor types right now, our guides to carpet installation and tile flooring installation both dig into which subfloor conditions matter most for those specific materials. The short version: the softer the floor, the more it forgives. The harder and more rigid, the less it does.
Why Las Vegas Subfloors Are Different: The Concrete Slab Reality
Much of the flooring advice online is written for markets where homes sit on raised wood floors or plywood over joists. That advice doesn’t fully translate to Las Vegas. Nearly every single-family home in the valley is built on a slab on grade, which introduces a set of issues that wood-subfloor markets rarely deal with.
Three things change when the subfloor is concrete:
- Moisture moves up, not down. Concrete is porous. Water vapor from the soil underneath wicks through the slab and reaches the surface. There’s no crawlspace to inspect and no airflow to dry it out.
- The slab itself is the subfloor. There is usually no layer between the concrete and the finished floor except the underlayment you choose. That means every imperfection in the pour is directly under your new flooring.
- Adhesive residue is common. Many Las Vegas homes have had tile, vinyl, or a floor removed at some point, and the glue or thin-set rarely comes up perfectly clean. What’s left behind can react with the new adhesive or telegraph through thin materials.
There’s also the valley’s climate. Las Vegas is bone-dry most of the year, and that dry air pulls moisture out of everything above the slab, including hardwood and the backing on carpet. Then summer monsoon season brings sudden humidity spikes. Where the slab is coolest and dampest, condensation can form under an improperly prepped floor. This swing between very dry and briefly humid is one reason we test every slab carefully before recommending a particular product. A floor that’s right for a Houston slab is not always right for a Summerlin or Henderson slab.
If you want the broader context on how we approach the whole project, our Las Vegas service page walks through what a typical install involves from measurement to completion.
How to Read a Moisture Vapor Emission Rate (MVER) Test
MVER stands for Moisture Vapor Emission Rate, and it’s measured in pounds of water vapor per 1,000 square feet per 24 hours. A test like this tells you how much moisture is escaping the slab at the surface. It’s different from a calcium chloride test reading, though the two are related, and both are useful for deciding what prep a slab needs.
Here’s how MVER results generally map to flooring categories:
- Carpet and pad: The most forgiving. The pad and backing create a buffer, and carpet allows moderate vapor movement without visible damage, as long as the slab is otherwise sound.
- Luxury vinyl plank (LVP): Moderately sensitive. Most LVP requires a moisture barrier underlayment unless the slab reads on the low side. This is where a product like COREtec or Karndean gets specified with a specific membrane.
- Laminate: Similar sensitivity to LVP, and often specified with a vapor barrier as part of the underlayment system.
- Hardwood: The most sensitive. Solid and engineered hardwood both react to moisture from below, and the threshold is lowest here. A slab that’s fine for carpet may be unsuitable for hardwood without a barrier.
- Tile: Tile itself doesn’t care about moisture, but the thin-set and grout do. Excess vapor can cause bonding failures or efflorescence, and the slab prep has to account for it.
The acceptable range depends on the specific product and the specific underlayment system. That’s why we don’t quote a universal number. Instead, at the estimate visit we test the slab in multiple spots, note where it reads highest, and then match the reading to the product you’re considering. If the slab is too wet for what you want, we say so plainly and talk through options.
One thing to know: a slab’s moisture reading can vary from room to room and from season to season. A room over a wetter patch of soil, or near a slab edge where irrigation sits close, can read higher than the middle of the house. Testing one spot and calling the whole slab fine is one of the most common shortcuts we correct.
When Vapor Barriers Are Mandatory vs. Optional
Vapor barriers are not one-size-fits-all. The requirement depends on three things: the moisture reading, the floor you’re installing, and the manufacturer’s installation instructions. Those instructions are the controlling document, and the written estimate should reference them.
Generally speaking:
- Mandatory for most luxury vinyl plank, many laminate installations, and hardwood over concrete. The barrier is part of the underlayment system, not an add-on.
- Mandatory where the slab reads above the product’s threshold. Even a small overage can turn a floor that would last into one that cups, buckles, or fails at the edges.
- Often optional for carpet where the pad is thick and the slab reads in a comfortable range. Carpet’s breathability gives it more margin.
- Usually specified regardless for tile, not as a vapor barrier in the same sense but through the membrane or thin-set system chosen.
The choice of barrier also matters. Some are roll-on coatings, some are sheet membranes, and some are built into the underlayment pad itself. Each has a different cost and a different effect on the floor’s feel. A sheet membrane adds a small amount of height, which can matter at door thresholds and where the new floor meets a counter or cabinet. Roll-on coatings add almost nothing to height. For a floor like Karndean or COREtec, the manufacturer’s system is what the installation should follow, and the barrier should be matched to that system rather than substituted.
The practical takeaway for homeowners: don’t accept “we’ll install a barrier if it looks like it needs one.” The barrier should be decided at the estimate, based on test results and the product instructions, and it should show up in the written plan. If you’re weighing up a floor and want to talk through the barrier implications, our team at Floors Las Vegas can walk you through it during a free estimate.
Self-Leveling Compound: When You Need It and What It Costs
Self-leveling compound (SLC) is a pourable cementitious product that fills low spots in a slab and brings the surface back to acceptable flatness. It’s not always required, and when it’s not, we don’t sell it. But when a slab has a dip deeper than the tolerance for the floor going over it, SLC is usually the cleanest fix.
Here’s how the process generally works:
- Measure the slab’s flatness. We use a straightedge or laser to map high and low spots across the rooms being floored. The measurement tells us whether prep is needed and how much.
- Clean and prime. The slab is cleared of dust, old adhesive, and loose material. A bonding primer goes down so the compound forms a solid mechanical bond.
- Mix and pour. The compound is mixed to spec and poured in sections, then worked with a gauge rake and smoothing tool to cover the low areas.
- Let it cure. Cure time depends on the product and the depth. The estimate should state how many days the floor will be offline for the pour before the finish can be installed.
- Verify the surface. Once cured, the area is checked again before the new floor goes down.
How much SLC prep costs depends on the square footage and the depth of the correction. Shallow spot correction over a single room costs less than a full floor pour. As a general range, plan for prep to be a meaningful percentage of the overall project on a slab that needs full leveling, and something like a small line item on a slab that only needs a few spots touched up. The written estimate is what sets the final number, and the range moves with the access, the depth, and the size of the job.
One thing to keep in mind: SLC is not a substitute for moisture mitigation. If a slab reads high for moisture, the barrier discussion happens before or alongside the leveling conversation. A perfectly flat slab with no barrier can still fail.
Large-format tile is the most common reason we recommend SLC. A 24-by-24 or larger tile cannot tolerate a wavy slab the way a 12-by-12 can, and the grout joints will tell you every time. If you’re considering larger tile, read the tolerance section below before settling on a size.
Adhesive Residue and Old Flooring: Grinding vs. Encapsulation
If your Las Vegas home has had a previous floor removed, there’s a good chance the slab still has adhesive, thin-set, or a mix of both on it. What to do about that residue depends on what it is, how thick it is, and what floor is going down.
Assessment first. A professional look at adhesive residue involves three questions:
- What is the residue? Some adhesives are water-based and soften with a mastic remover. Others are cement-based thin-set that has to be mechanically removed.
- Is it bonded or loose? Loose residue can be scraped or vacuumed. Bonded residue has to be ground or covered.
- Will it react with the new floor or adhesive? This is where older vinyl adhesives, particularly from eras when asbestos was still used in some products, raise a flag. If there’s any chance the old adhesive falls into that era, we recommend testing before any grinding happens. Grinding a hazardous material without testing is exactly what you want to avoid.
When grinding is the right call, we use dust-controlled equipment to take the surface down to clean concrete. It’s the most thorough option and it gives the new floor and adhesive a clean bond. It’s also the noisiest and the messiest, and the prep should include dust management.
When encapsulation is acceptable, we apply a coating that seals the residue in place and provides a stable surface for the new floor. Encapsulation is faster and cleaner than grinding, but it’s not appropriate when the residue is thick, loose, or unknown composition. If a contractor proposes encapsulation without looking at the residue first, ask why.
Thin-set from old tile is a different animal. It comes off with a grinder or a chipping tool, and the goal is to end up with a slab that’s clean enough for the next layer to bond properly. If you’re replacing tile in a space and thinking about going to carpet instead, our carpet installation team walks through how the old surface gets prepped for the switch.
See the difference
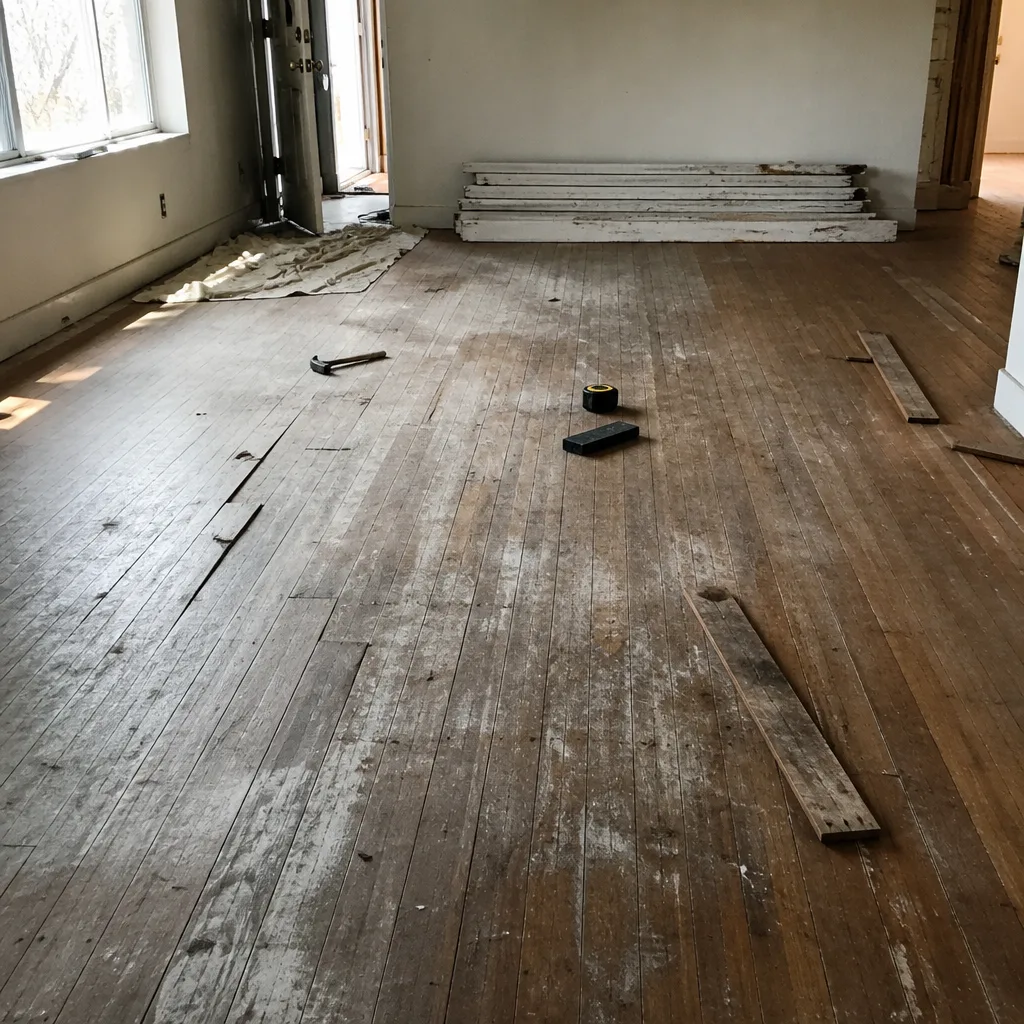 Before
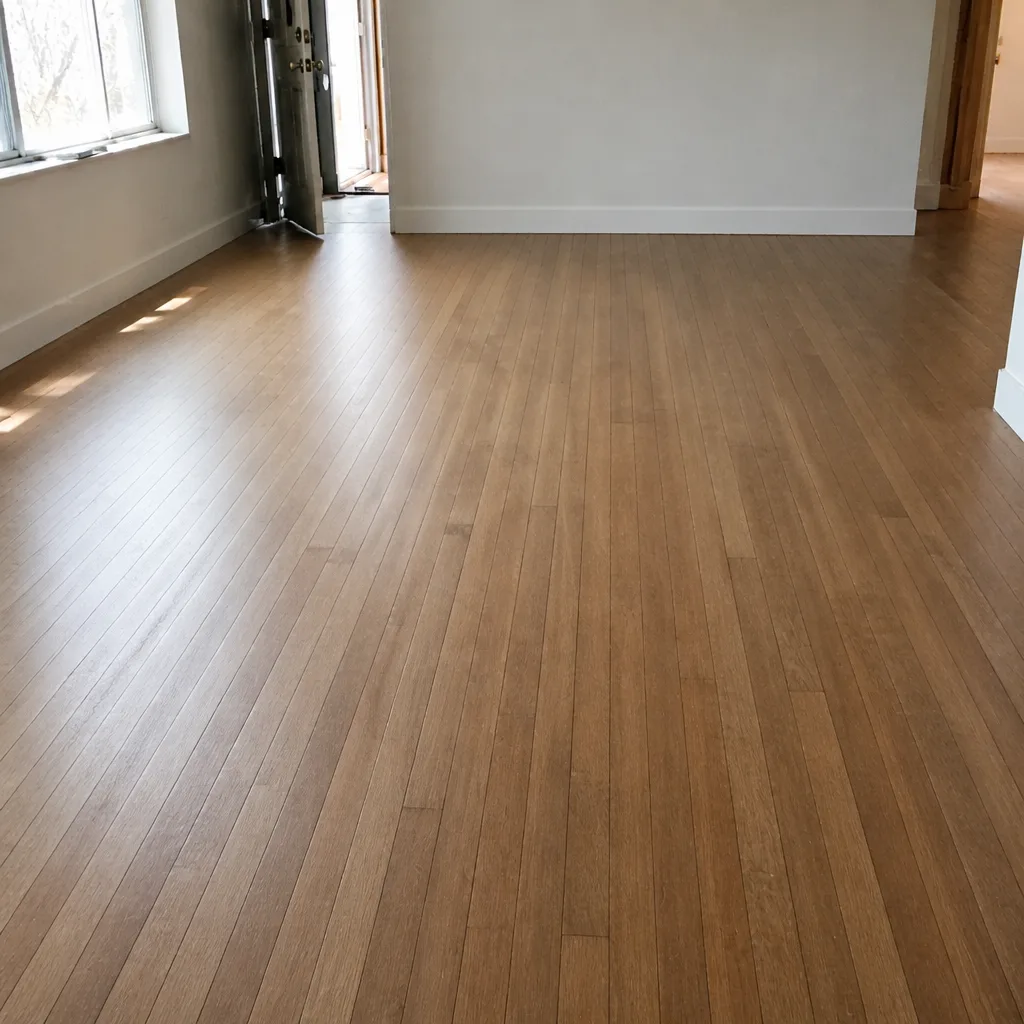 After
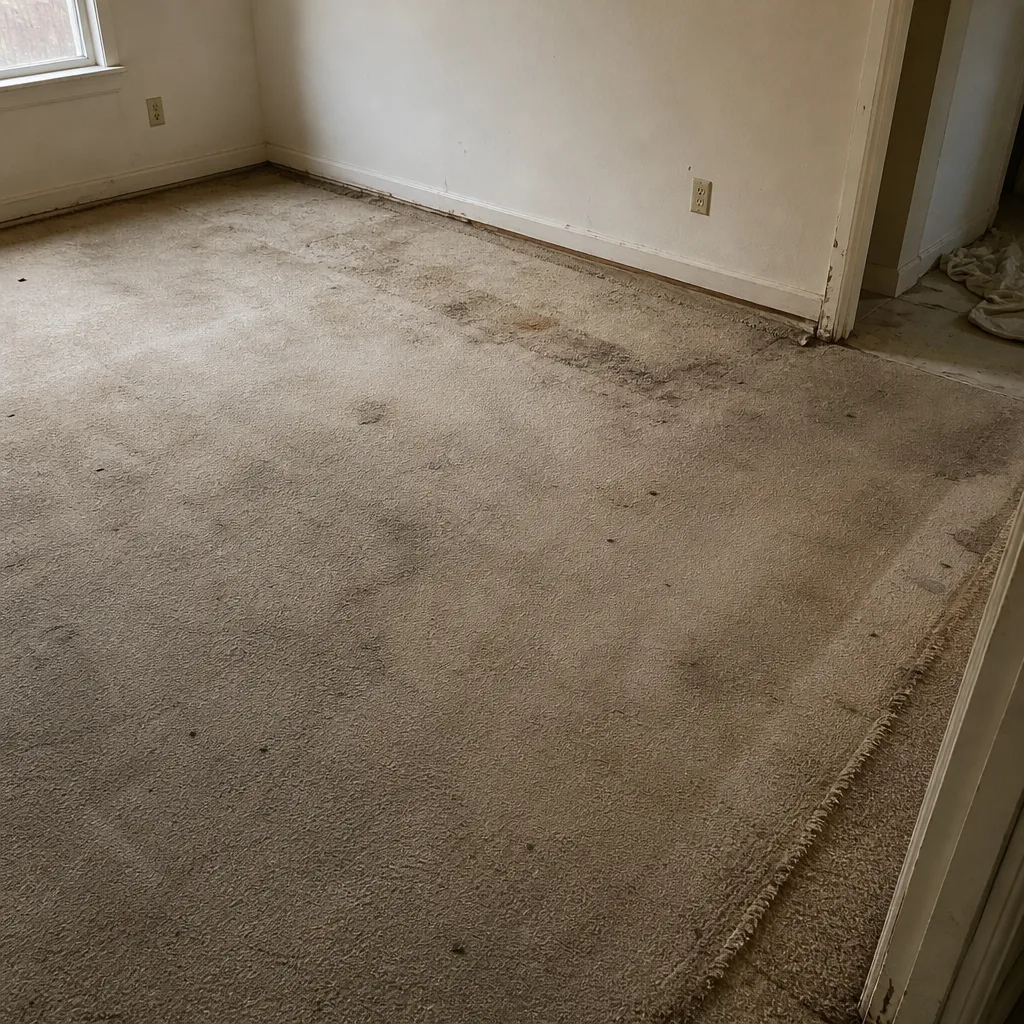 Before
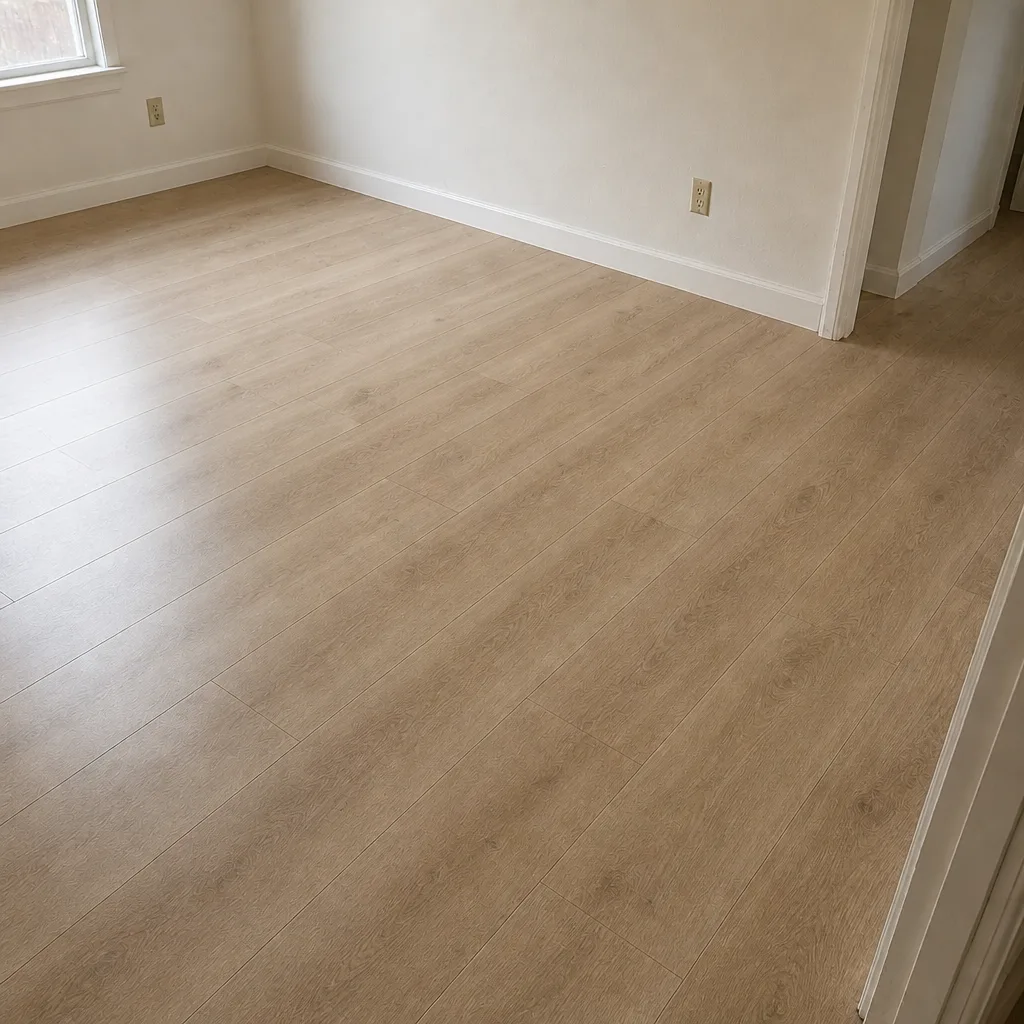 After
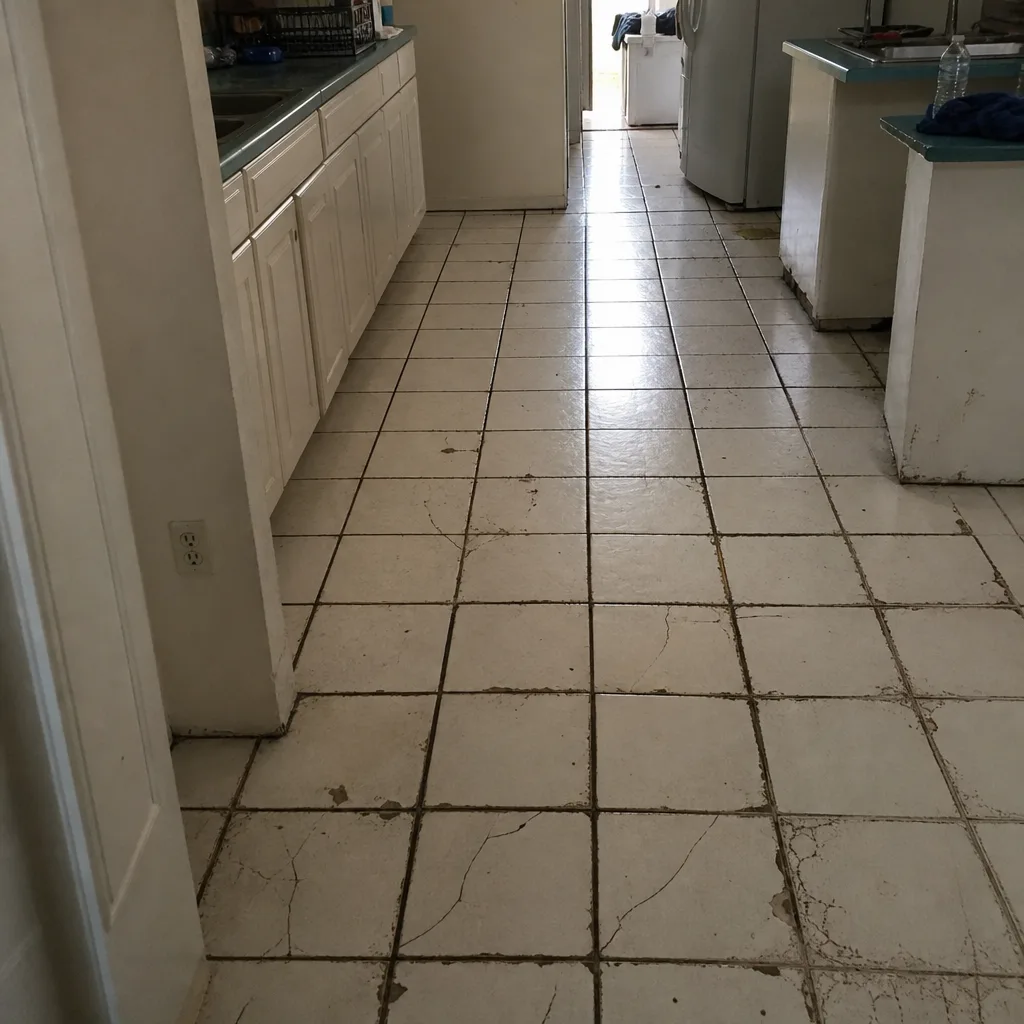 Before
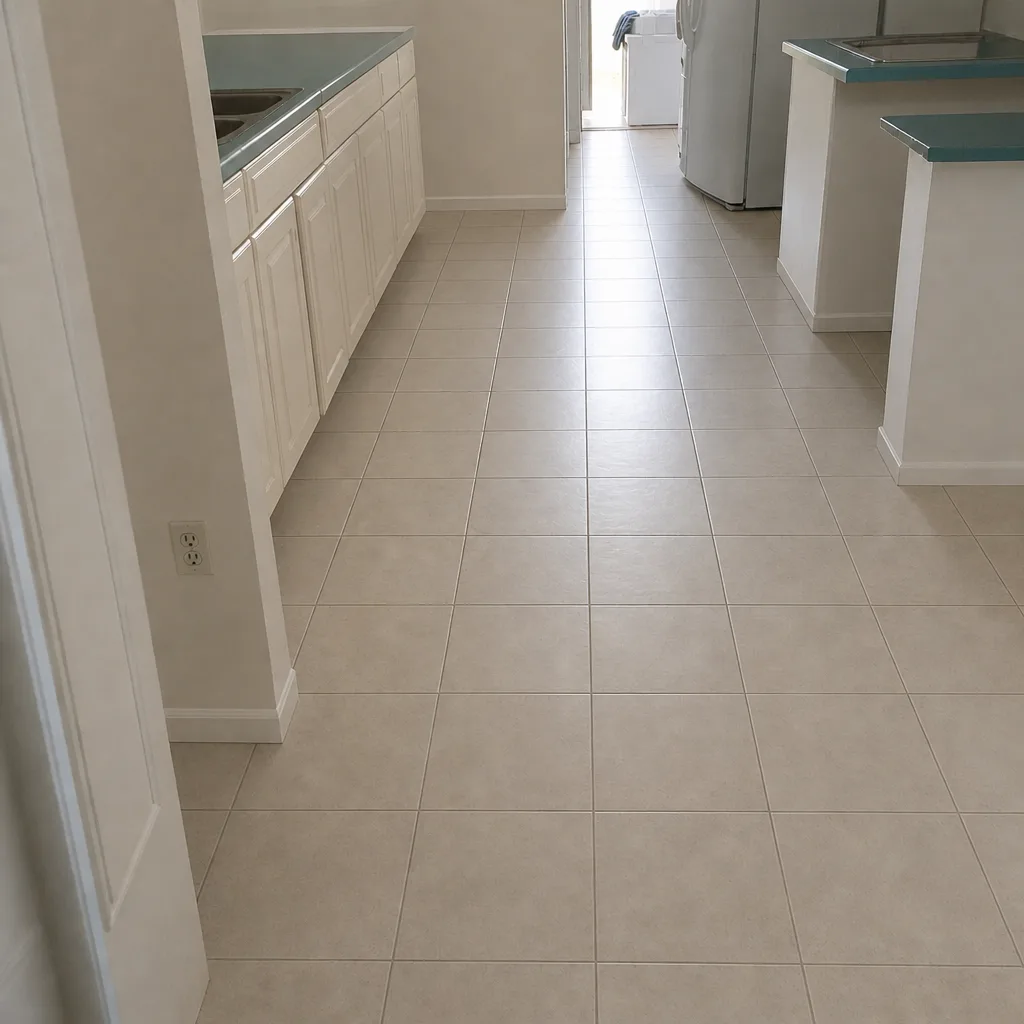 After
Subfloor Tolerances by Flooring Type
Every flooring category has its own tolerance for slab imperfection. The more rigid and less forgiving the product, the tighter the tolerance. Here’s how the categories rank, from most forgiving to least:
- Carpet. The most forgiving. The pad absorbs minor slab irregularities, and carpet can handle a slab that would show through a hard surface. That doesn’t mean carpet tolerates actual structural movement, but it does tolerate the small lumps and dips that are common in any pour.
- Luxury vinyl plank and tile. Moderately forgiving. LVP handles some variation, especially with a cushion underlayment, but too much flex shows up as a soft spot or a plank that clicks when you step on it. The tolerance is tighter than carpet but looser than tile.
- Laminate. Comparable to LVP. The locking system and rigid core don’t like unevenness, and a wavy slab can lead to a hollow sound and eventually joint separation.
- Hardwood. Tighter than laminate. Hardwood is rigid and must sit on a surface that meets the manufacturer’s flatness spec. Where it doesn’t, a hollow spot or a cupped board will appear sooner rather than later.
- Large-format tile. The least forgiving by a wide margin. The larger the tile, the smaller the tolerance and the more critical the slab prep. A 24-by-24 tile over a wavy slab is a warranty problem waiting to happen, and the fix is SLC or a specialty underlayment, decided before installation.
The takeaway: if you’re choosing a floor, ask what tolerance the manufacturer specifies and compare it to your slab’s measured flatness. If the gap is wide, either the prep budget goes up or the product changes. It’s much cheaper to find that out at the estimate than mid-install.
For homes in areas where older construction meets newer slab tolerances, we’ve seen this play out in neighborhoods across the valley. The Las Vegas page has more on the local housing mix. If you’re in one of these homes and comparing a soft floor versus a hard one, our Floors Las Vegas page lists the full range we install, from Shaw and Mohawk carpet to Daltile tile to hardwood.
One more note on hardwood: refinishing vs. replacement is a separate decision, and our refinishing service is a dedicated offering. If you’re weighing whether to refinish an existing floor or replace it, the condition of the wood itself matters as much as the slab beneath. We look at the wood thickness and condition at the estimate and give you a straight answer on what’s realistic.
Why Subfloor Remediation Deserves Its Own Line Item
Here’s a pattern that catches homeowners off guard: an estimate that looks tidy and complete, and then a call mid-installation saying “we found some issues with the subfloor, it’s going to be extra.” That call is where trust breaks down. A reputable estimate separates the floor from the prep, and shows you both before work starts.
What a clear estimate should show:
- The floor material and the quantity, calculated from measured rooms.
- The underlayment and barrier as separate items if they’re separate steps.
- The subfloor prep as its own line, including moisture testing, leveling, and any adhesive removal, with ranges or a stated allowance so you can see the possible cost.
- The schedule for any cure or set times that affect how long the room is offline.
- The written note that says what happens if testing reveals conditions the initial walk-through couldn’t see. A written estimate sets the final price, and clarity about prep is part of that.
Why separate? Because prep costs vary enormously from home to home. Two houses on the same street can have totally different slabs. When prep is buried in a single lump-sum number, you can’t compare bids fairly, and you don’t know what you’re actually paying for. When it’s its own line, you can see what’s included, and if it changes, you know why.
We’ve made this decision a core part of how we estimate: no lump-sum surprises, and no discovering the subfloor issue after the new floor is already ordered. If you’re collecting estimates, compare the prep line across bids before you compare the total. The cheapest total is often the bid that skipped the prep. Our free estimates are structured this way, and our full-surface work across carpet, tile, and hardwood refinishing means the same prep standard applies whichever surface you choose.
Common Mistakes to Avoid
- Skipping the moisture test because the slab looks dry. Concrete can look and feel dry at the surface while still emitting vapor from below. In a slab-on-grade market like Las Vegas, the test is not optional, and skipping it is the most common reason a new floor fails in its first year.
- Assuming “flat” means “level.” A slab can be level but wavy, and a wavy slab is what breaks tiles and clicks planks. Flatness is what the installation spec measures, and flatness is what has to be checked.
- Accepting a lump-sum bid with no prep line. If the estimate doesn’t show subfloor work separately, you can’t tell whether it was priced in or skipped. Ask what the prep allowance covers before you sign.
- Grinding unknown adhesive without testing it first. Older vinyl adhesives from certain eras can contain hazardous material, and grinding without testing spreads it through the house. If the age of the adhesive is uncertain, test it before any dust flies.
- Choosing tile size before checking the slab. Larger tile needs flatter slab. Picking a 24-by-24 tile for a room with a wavy slab means a leveling pour or a different tile, and it’s much easier to decide at the estimate than after the tile is ordered.
- Letting a product change happen without rechecking the barrier. Switching from carpet to LVP mid-project changes the barrier requirement. A barrier that was optional for carpet may be mandatory for LVP, and the plan has to update.
- Installing over residue that wasn’t assessed. Encapsulation is fine for some residue and wrong for others. If nobody looked at the adhesive residue and identified it before installation, that’s a shortcut you’ll pay for later.
When to Call a Professional
Some subfloor conditions are obvious. A visible hump, a crack that runs across the whole room, or a floor that’s had water sitting on it at some point all say “get this looked at.” But most of the ones that matter are invisible: a slab reading high for moisture, a low spot that’s only visible under a straightedge, adhesive residue you can’t identify. Those only come out with testing, and testing is what separates a real flooring specialist from a crew that shows up and lays floor.
Call for a professional assessment if any of these sound familiar:
- You’re replacing a floor that failed early (cracked grout, buckling plank, hollow spots).
- The room has ever had water ponding on it, or sits below an irrigation line outside.
- You’re unsure what the existing residue on the slab is.
- You’re choosing a large-format tile, hardwood, or luxury vinyl and want the slab tested before you buy.
- Your current estimate doesn’t show subfloor prep separately.
Our technicians have up to 11 years of experience assessing exactly these conditions. Floors Las Vegas offers free estimates in Las Vegas: call (844) 761-9353 to schedule yours. We answer 24/7. Fast dispatch from 7am to 7pm, Sunday through Friday.
Frequently Asked Questions
The most common installation standard allows no more than 3/16 inch of variation over a 10-foot span, though the specific number depends on the product and its manufacturer’s instructions. In a slab-on-grade market like Las Vegas, that flatness is measured, not eyeballed, because a slab that looks flat to the naked eye often isn’t. If the measurement fails, leveling compound or a different product is the answer, and it’s a decision made at the estimate.
Because nearly every Las Vegas home sits on a concrete slab on grade, and concrete wicks moisture up from the soil beneath it. A slab can feel dry at the surface while still releasing enough vapor to damage a floor. The moisture test tells us how much, and the reading determines whether a vapor barrier is required for the floor you’ve chosen. Skip the test and you’re gambling on the most expensive part of the project.
Sometimes yes, sometimes no, and the answer depends on what the residue is and how thick it is. Thin, well-bonded residue can often be encapsulated with a coating that seals it and gives the new floor a stable surface. Thick or loose residue, or residue of unknown composition, usually has to be ground off. If the adhesive is from an older floor and its age is uncertain, it should be tested before anyone grinds it.
No. Many slabs are flat enough for the floor going over them and need no leveling at all. SLC is for slabs with high and low spots beyond the product’s tolerance, and the larger and more rigid the floor, the more likely that tolerance gets exceeded. The estimate visit maps the flatness room by room, and the leveling line appears only where it’s actually needed.
Yes, the estimate is free. We test the slab, measure the rooms, and put the floor and the prep on separate lines in a written estimate so you can see exactly what’s included. The final price is set by that written estimate, not by a verbal number on the phone. Call (844) 761-9353 to schedule yours. We answer 24/7. Fast dispatch from 7am to 7pm, Sunday through Friday.
Subfloor prep is priced per job because the range depends on square footage, how far off the slab is, and whether adhesive removal is involved. A few spot corrections in one room cost far less than a full leveling pour, and a barrier can add to the total. The timeline also varies: cure time for compound is set by the product and depth, and your estimate will state how many days the floor is offline before installation. Call (844) 761-9353 for an exact quote. Estimates are free.
The Bottom Line
The floor you see is only half the job. In Las Vegas, the slab underneath is the other half, and it’s where most of the risk sits: moisture moving up through concrete, high and low spots that don’t show until the first tile cracks, adhesive residue that was never identified. The good news is that each of those is testable and fixable before installation, not after. Ask for moisture testing, ask for flatness measurement, ask what the residue on the slab is, and ask that prep be its own line on the estimate. That’s what a real specialist does, and it’s how a floor actually lasts.
Whether you’re choosing between Shaw carpet, Daltile tile, or hardwood refinishing, the prep standard is the same. Contact Floors Las Vegas for a free estimate: call (844) 761-9353. We answer 24/7. Fast dispatch from 7am to 7pm, Sunday through Friday.
Written by the team at Floors Las Vegas.